
Summary of "SDF Pumpkins" video.
Last Updated: 2025-10-09
This is a summary of the video "SDF Pumpkins." It relates to the series of articles "The Unreasonable Effectiveness of SDFs": Part 1, Part 2, Part 3. You may be interested in reading those, too.
Introduction
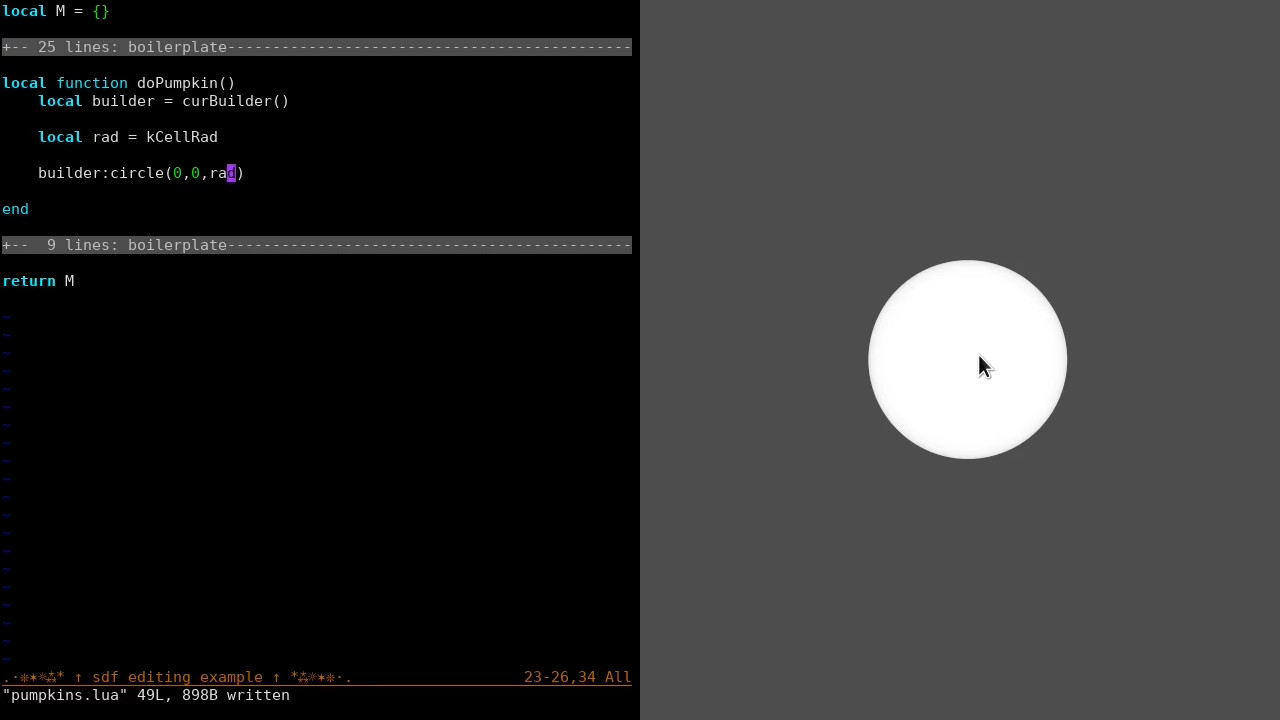
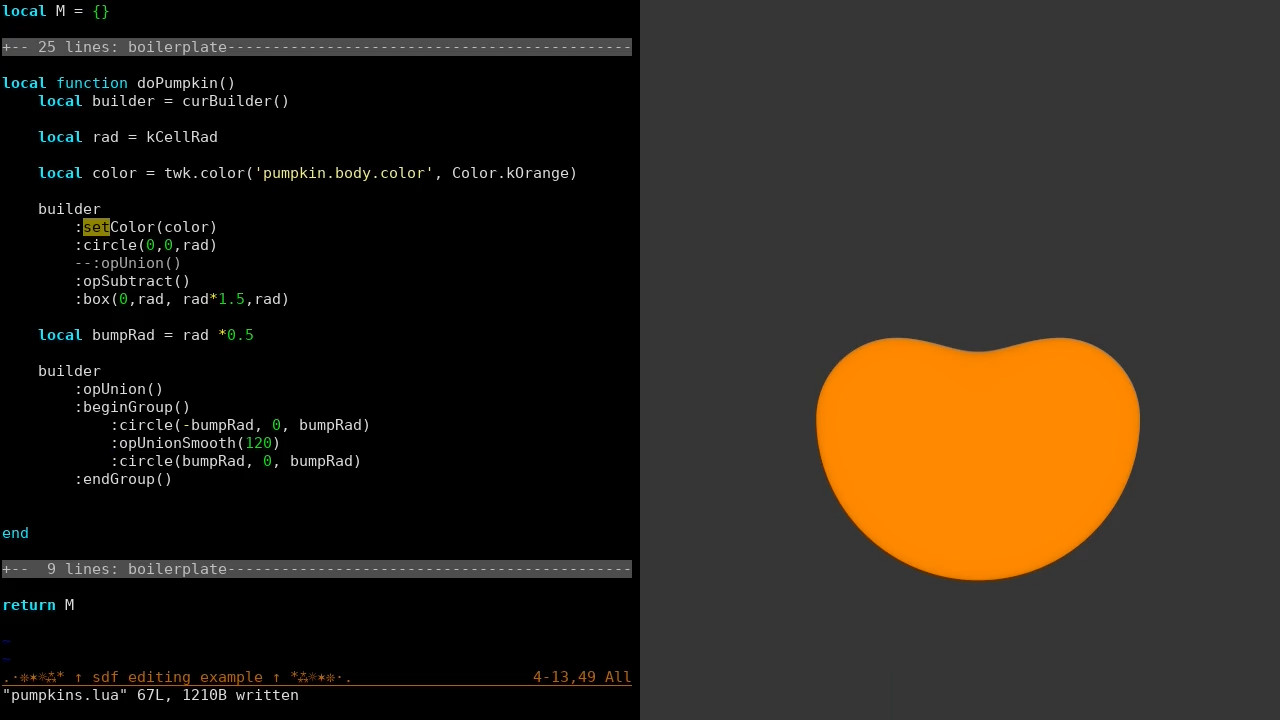
In this video we're making SDFs using the graphic system of Pinhole Universe. It's an interactive system. In the video, we have Lua code on the left, and the game view on the right. We start by making a simple circle
Body of the Pumpkin
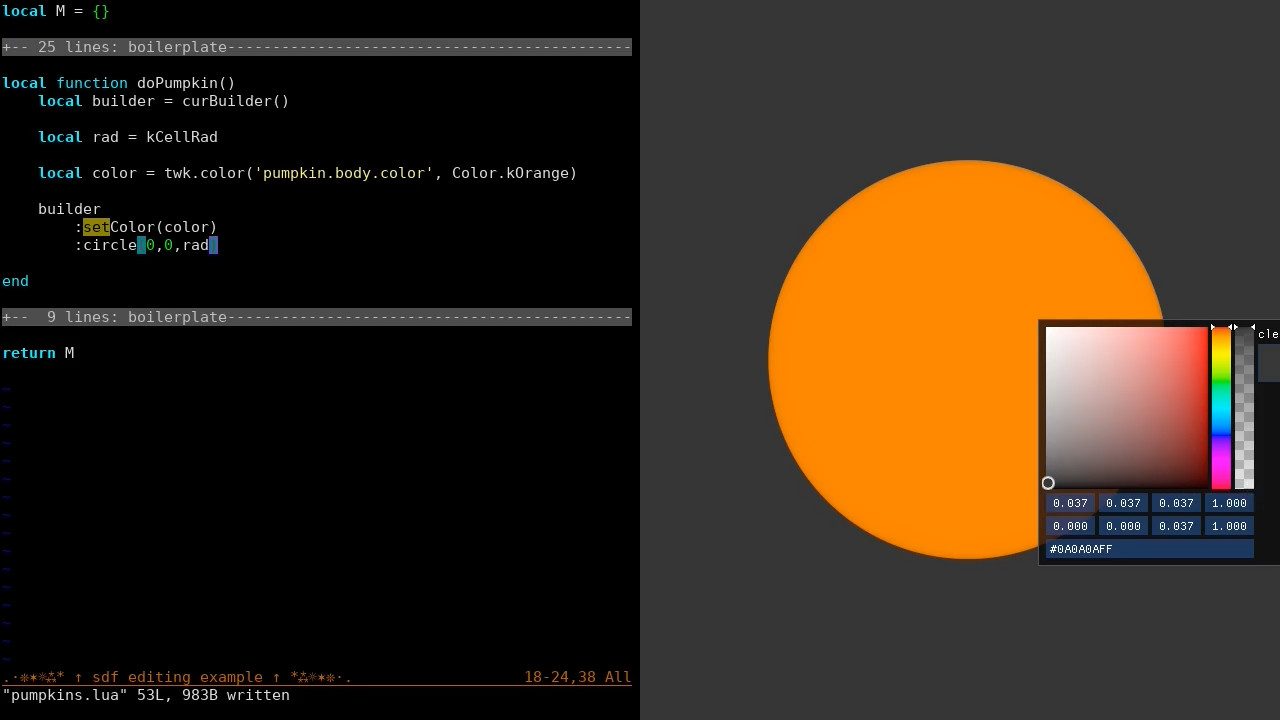
Next, we set the color, to look more pumpkin-y. I have a debug panel off to the side that I don't discuss in detail, but it's also part of my interactive editing system.
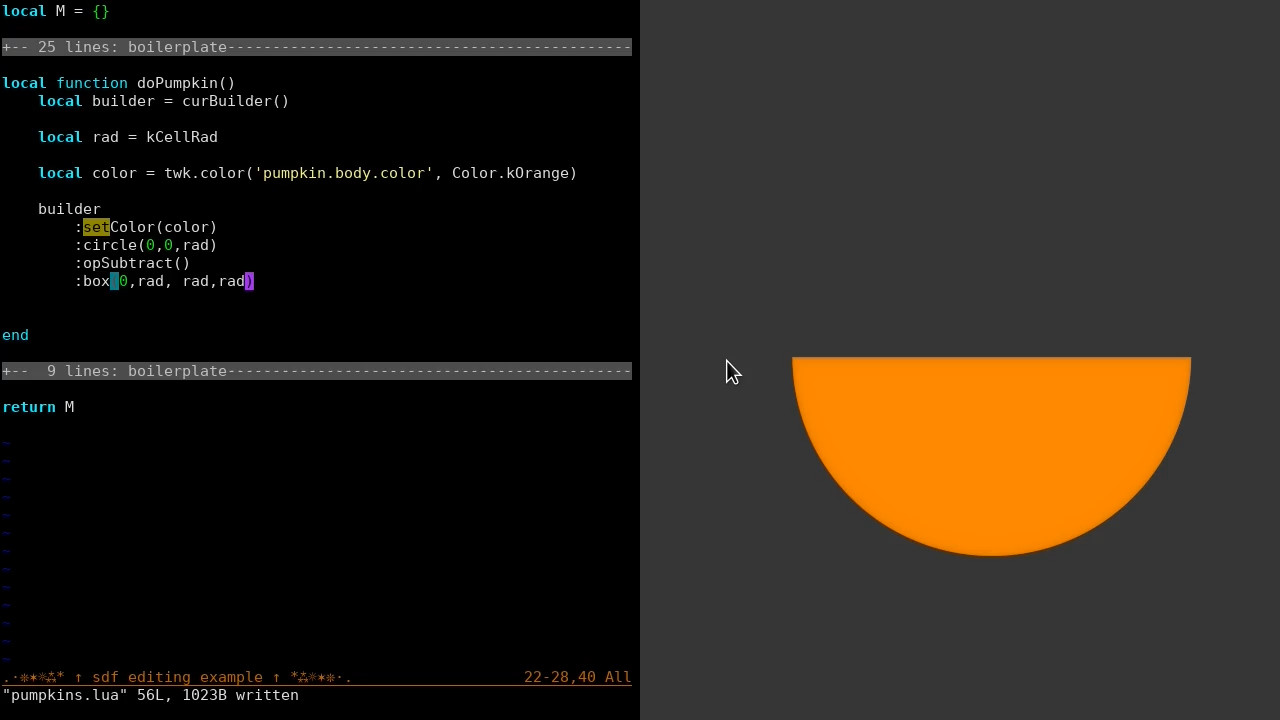
We want the pumpkin to have an indent on the top, so we chop of the top using :opSubtract() and a box.
We then add two new smaller circles, to create an approximate "heart" shape.
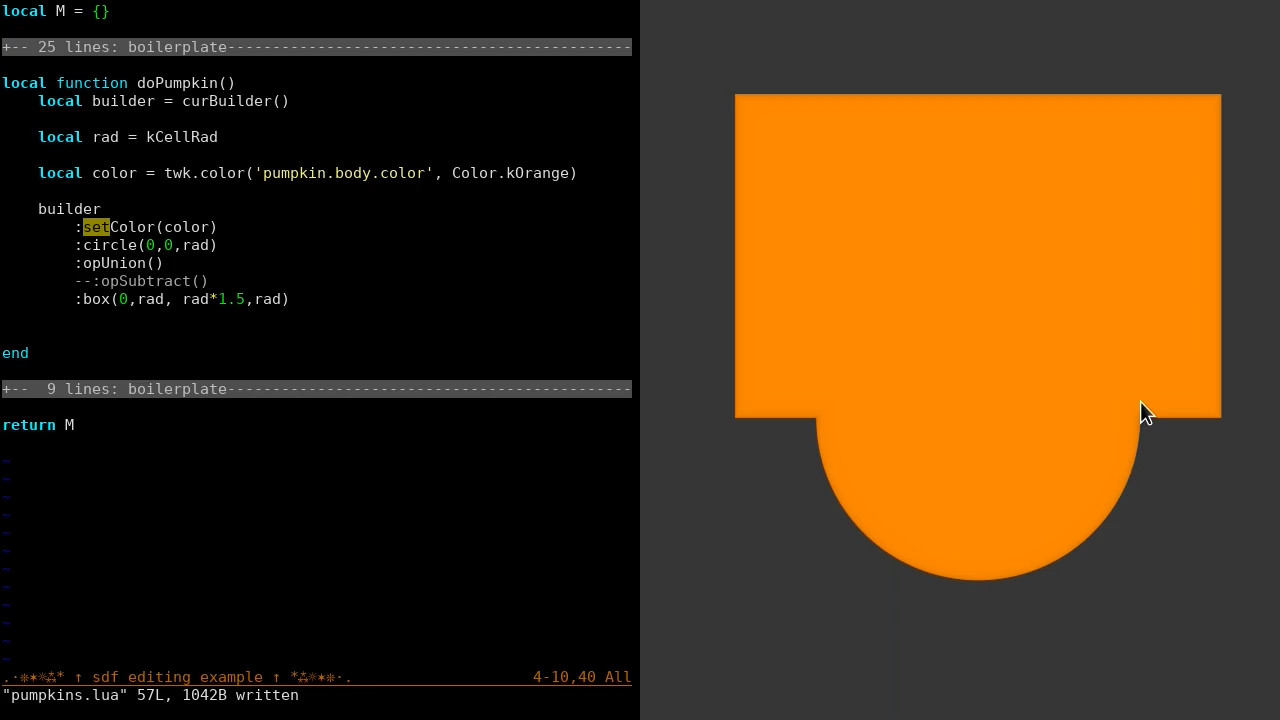
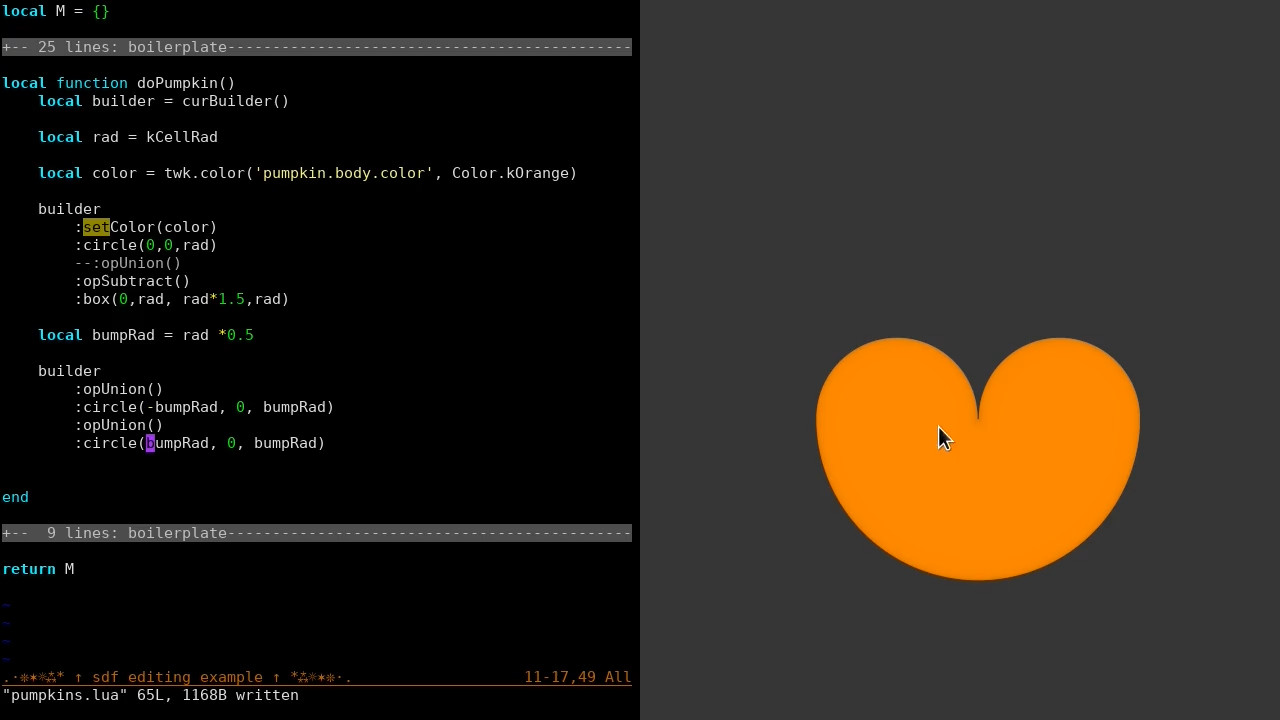
Next, we "fuse" the circles together.
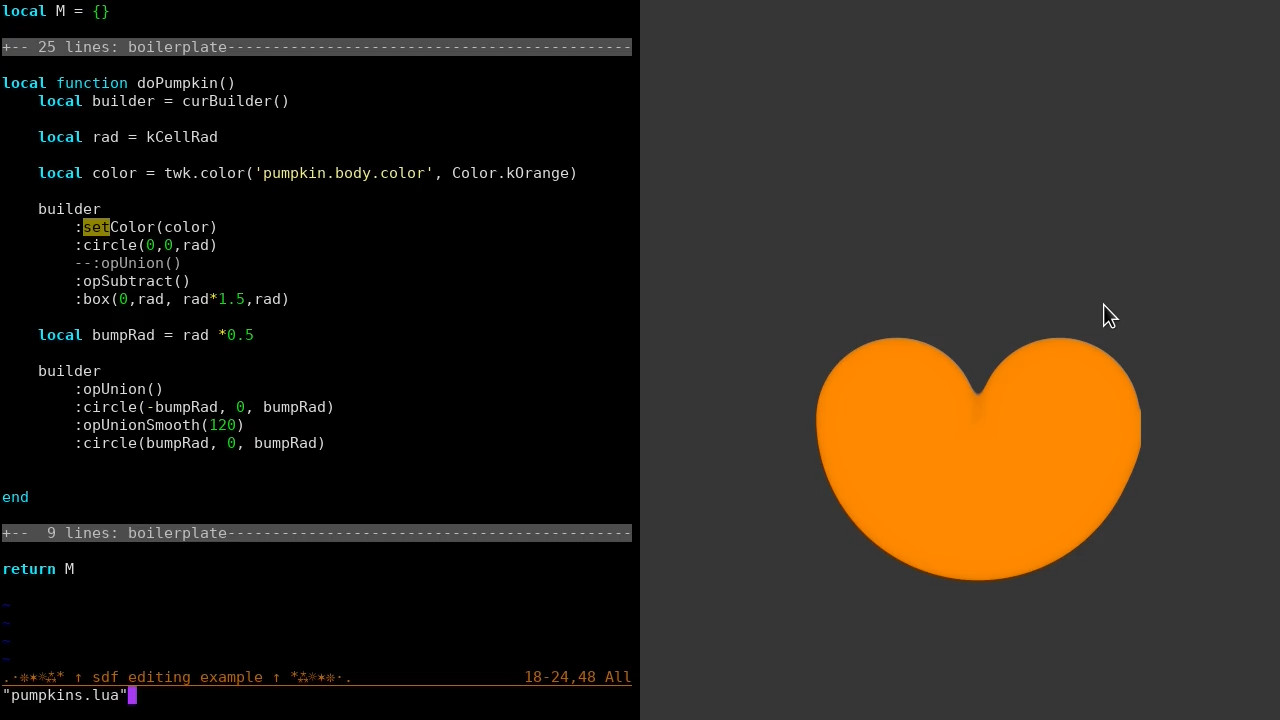
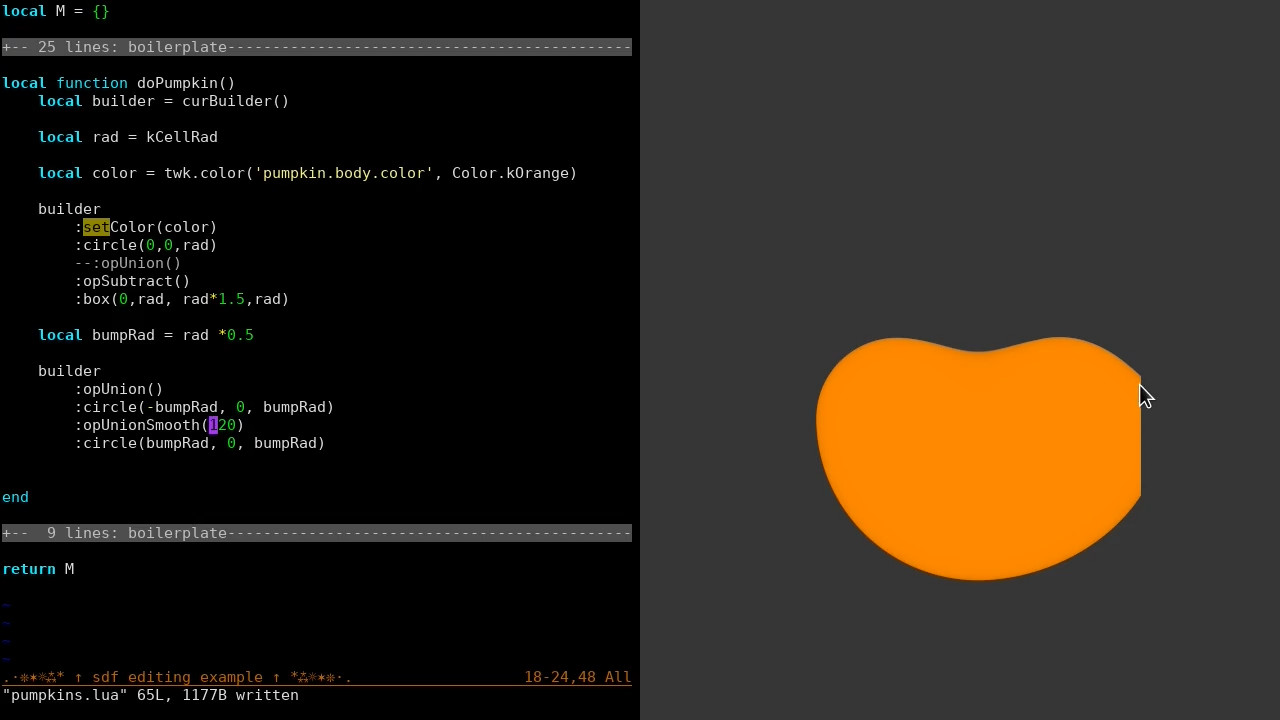
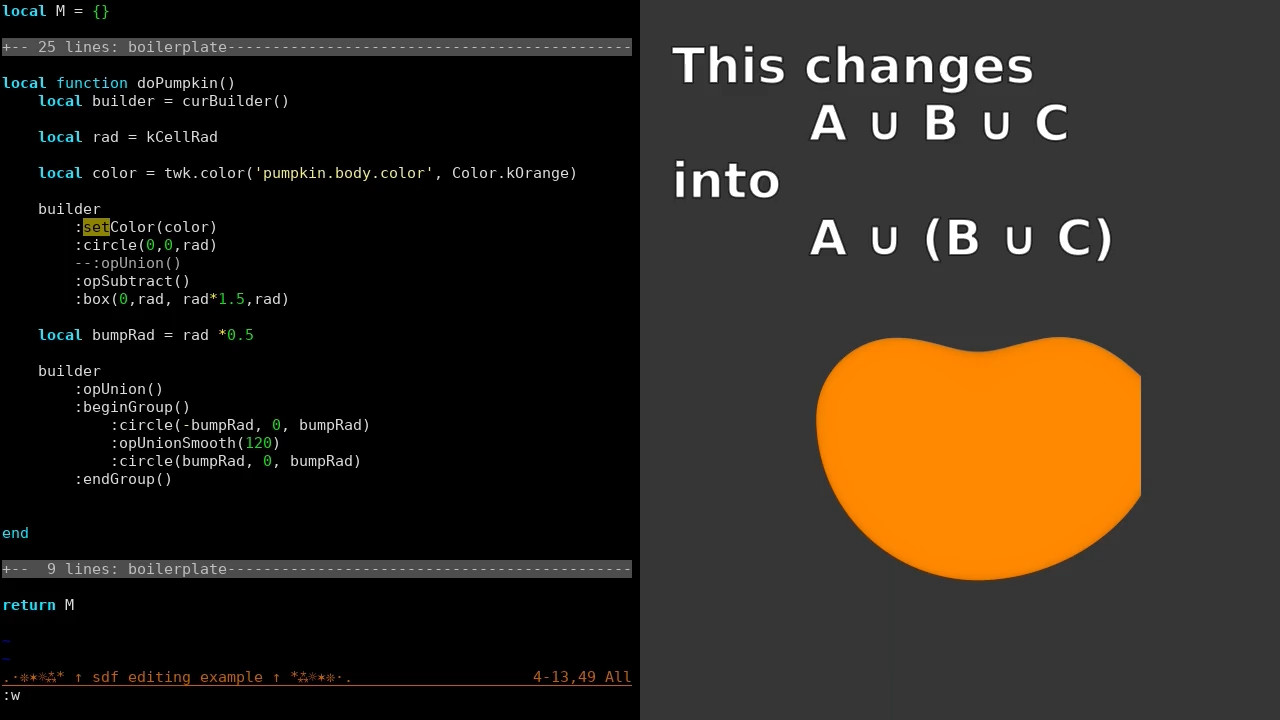
We try simply using :opUnionSmooth(rad), which works okay with a large enough smoothing radius, but we go a different route.
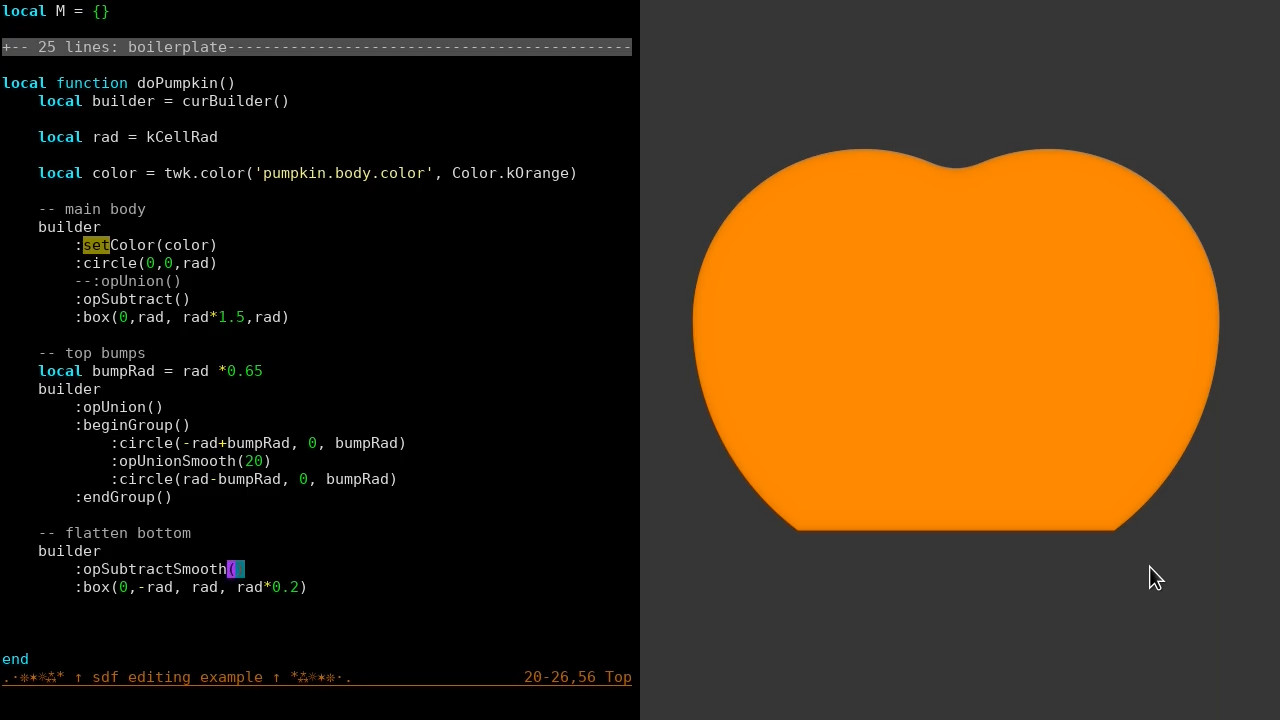
Instead, we move the two "bumps" of the circle together, so they intersect at a higher point.
Next, we flatten the bottom of the pumpkin by subtracting another box. With adjustment, this looks pretty much like a pumpkin, so we move on.
Pumpkin Face
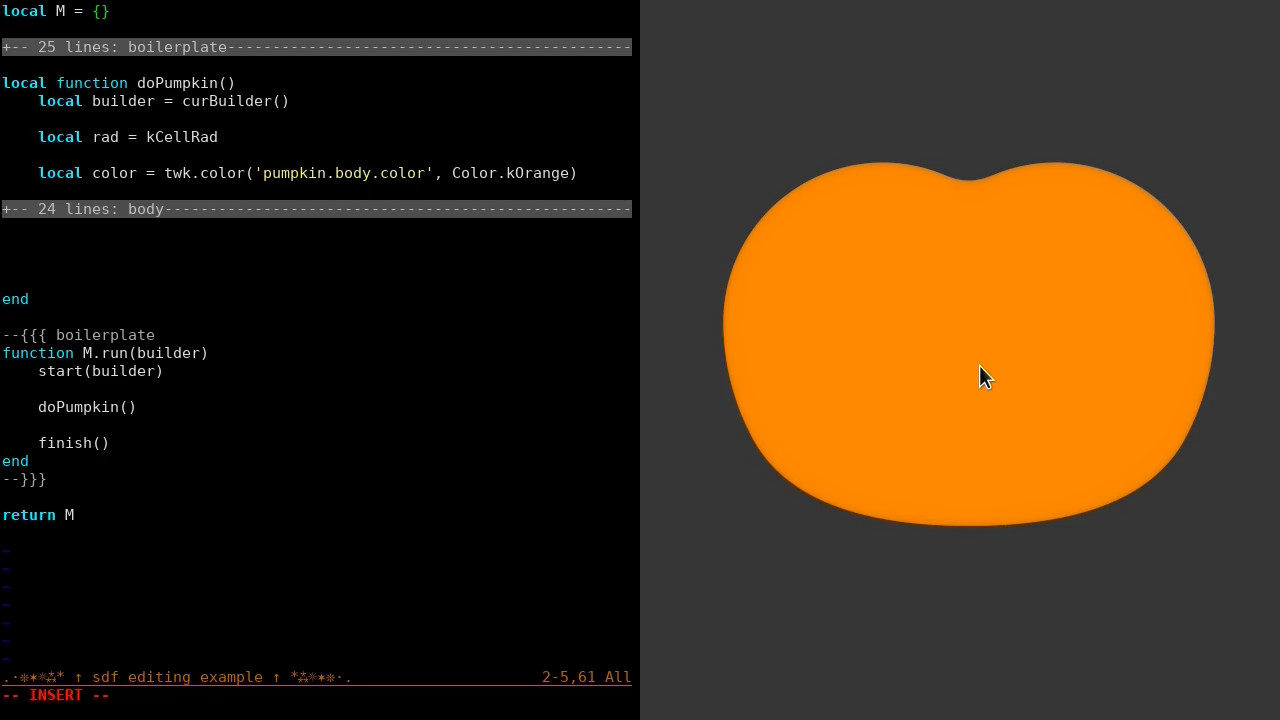
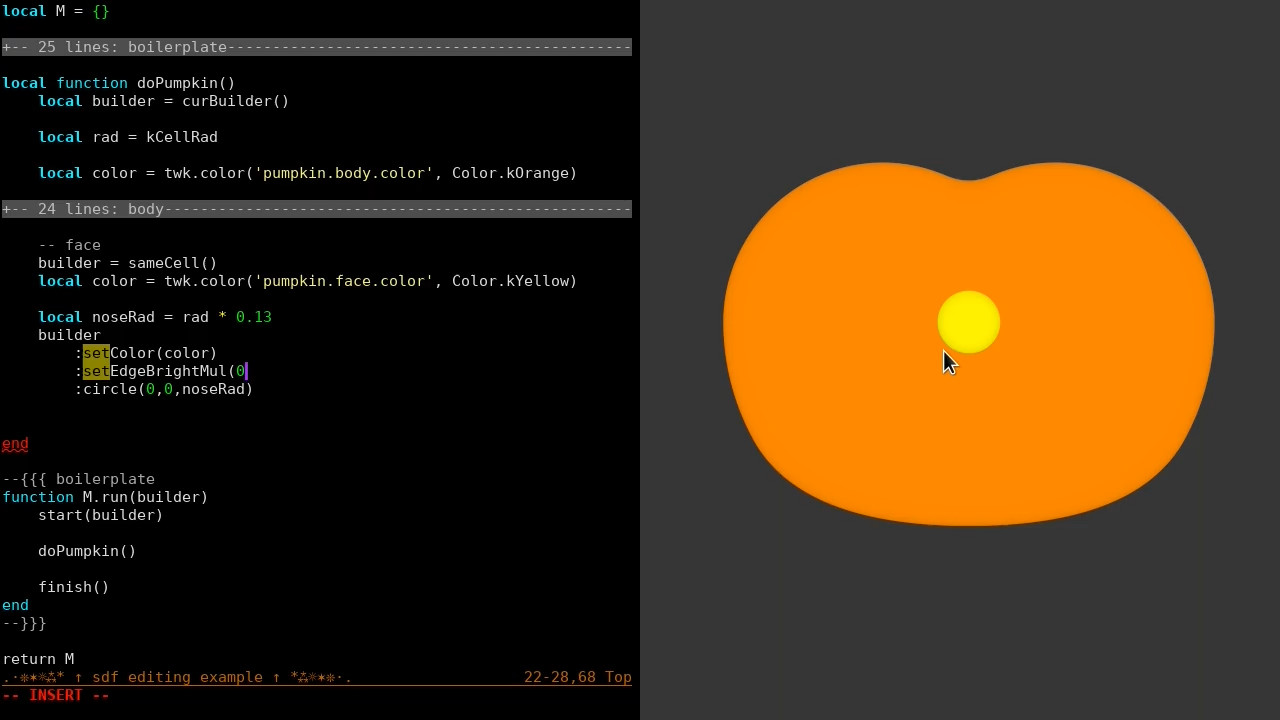
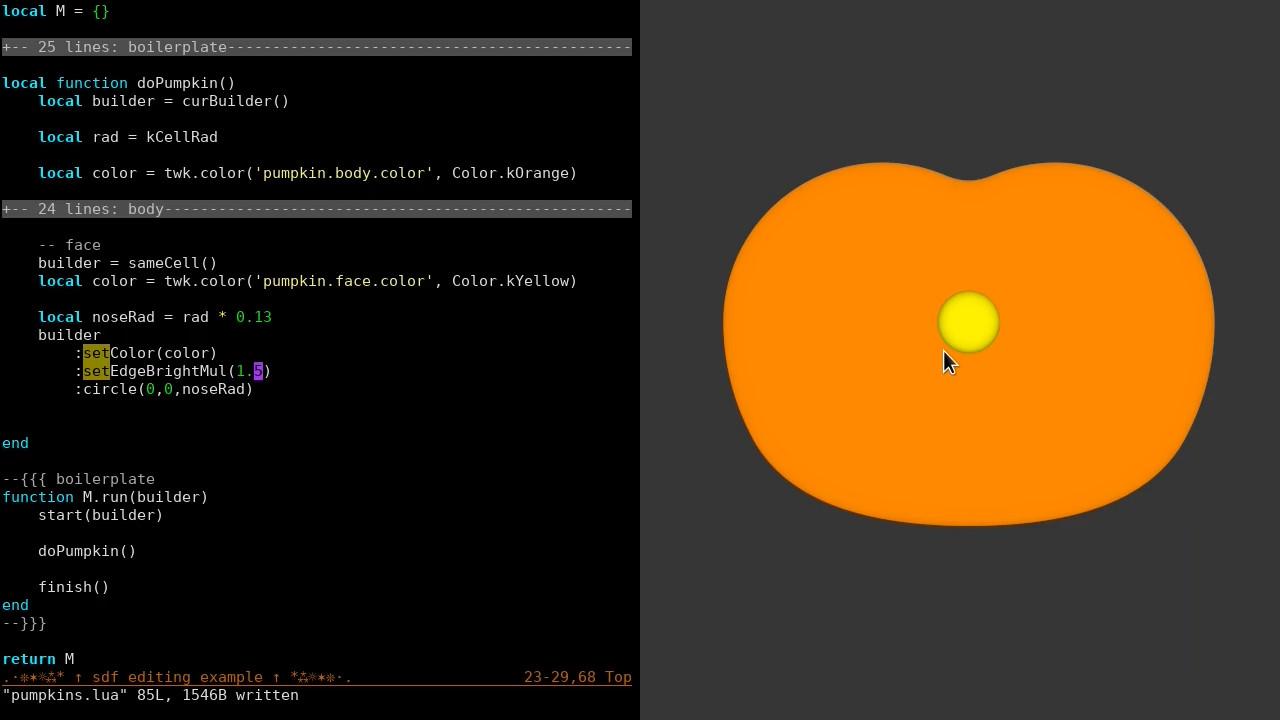
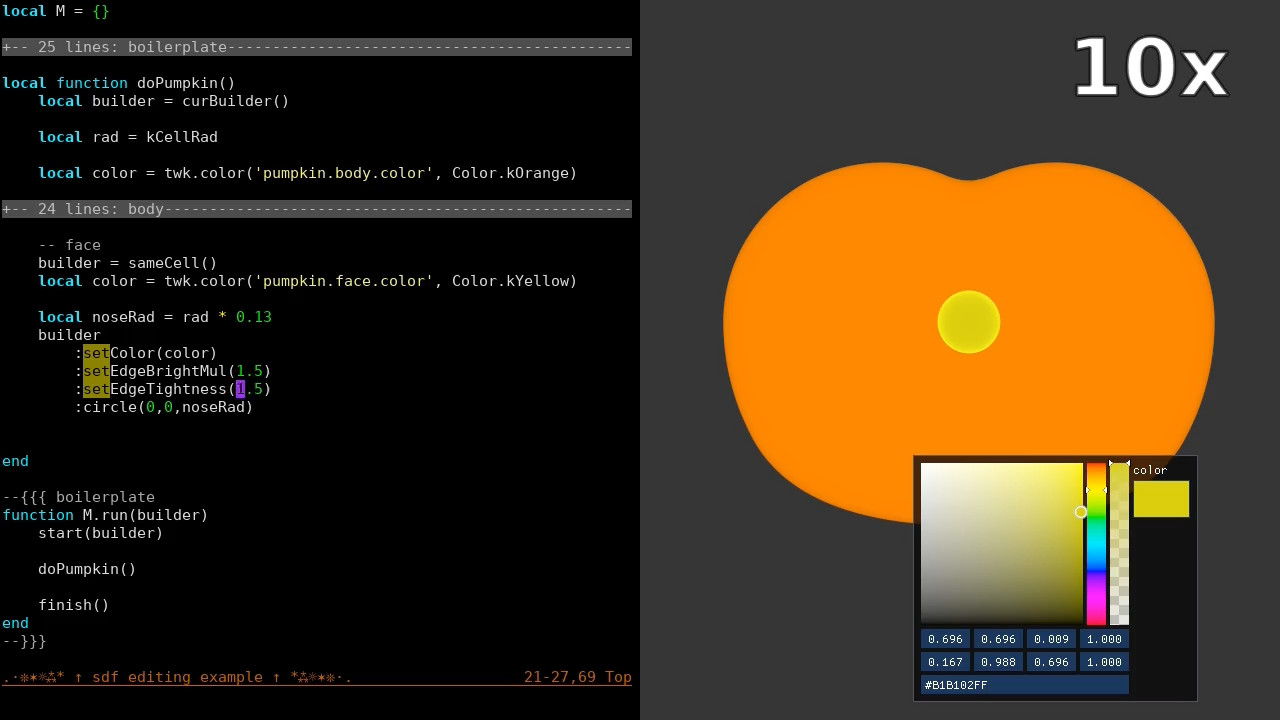
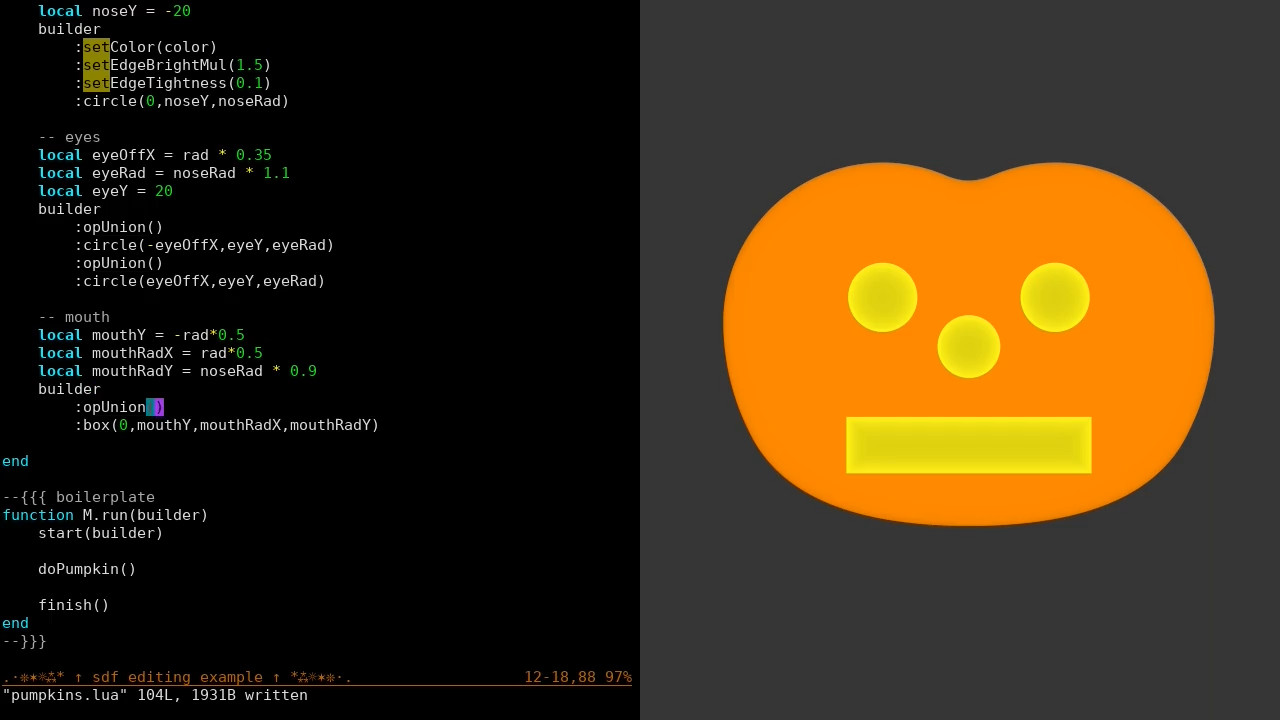
To turn the pumpkin into a jack-o-lantern, we add eyes, a nose, and mouth. We start with the nose. We use some more of the features of the builder to add a "glow" effect to the yellow coloring. The normal shading has a subtle darkening around shapes' edges, so we use that to "un-darken", causing a brightening.
Grid of Pumpkins
I want to add variation, to create lots of pumpkins with randomization.
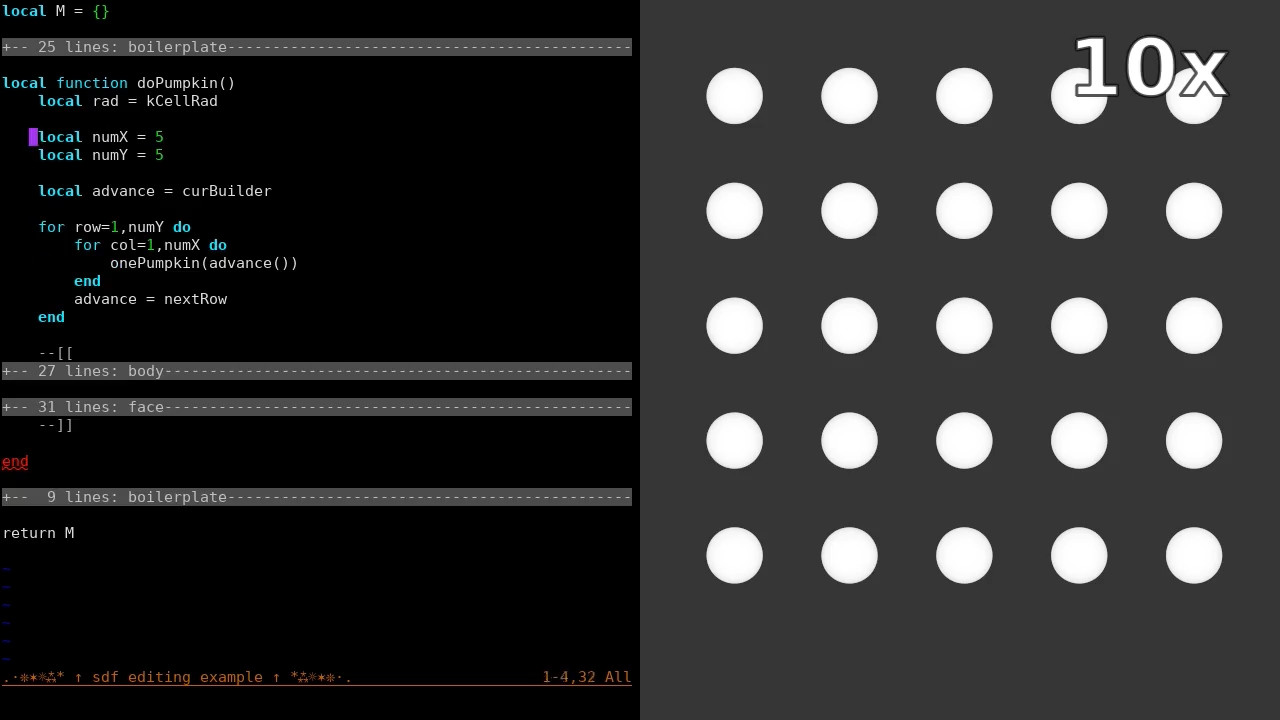
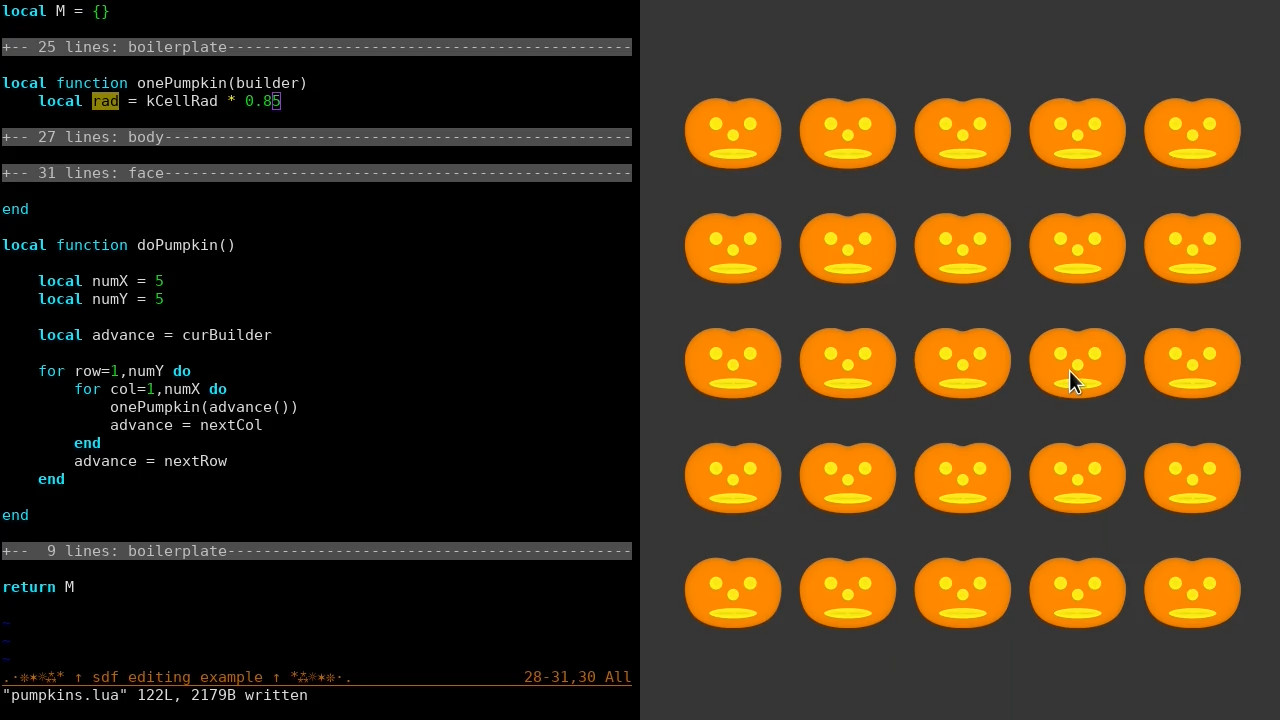
Towards that end, we now take our solo pumpkin and turn it into a grid of pumpkins.
This is fairly easy to do in the little demo system I'm using — we can easily call nextCol() or nextRow() to create new objects, in a loop.
I have been tempted to create a visual UI for designing shapes, rather than typing numbers, but ultimately I want to create things with code, so haven't quite been able to justify that effort. Since I'll be moving it all to code pretty soon regardless, I don't see a very big time savings from using a graphical system at the start. Maybe some day...
Next, we randomize the face a bit. We allow picking different shapes for the eyes and nose, rather than just circles. We pick from triangle, square, circle, for each.
Face Jitter
After that, we add some rotation randomness, too (only affects squares, of course). And then we also add some positional jitter, to break things up visually a bit more.
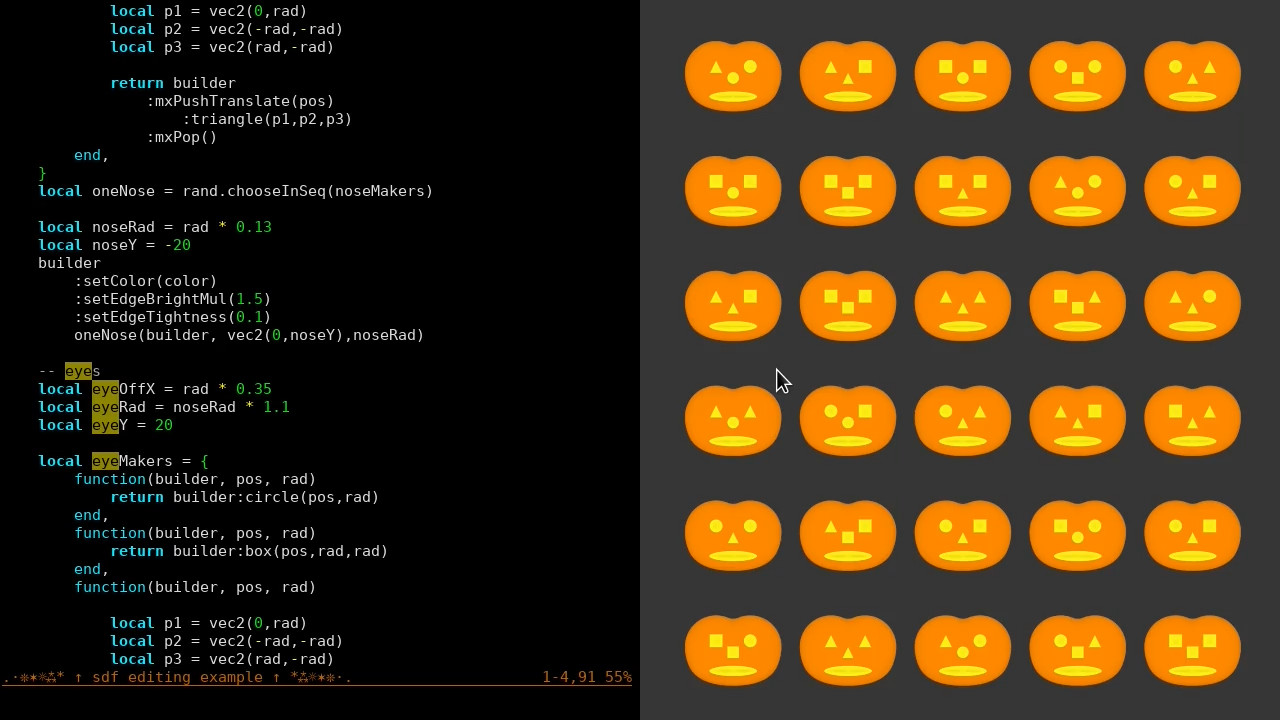
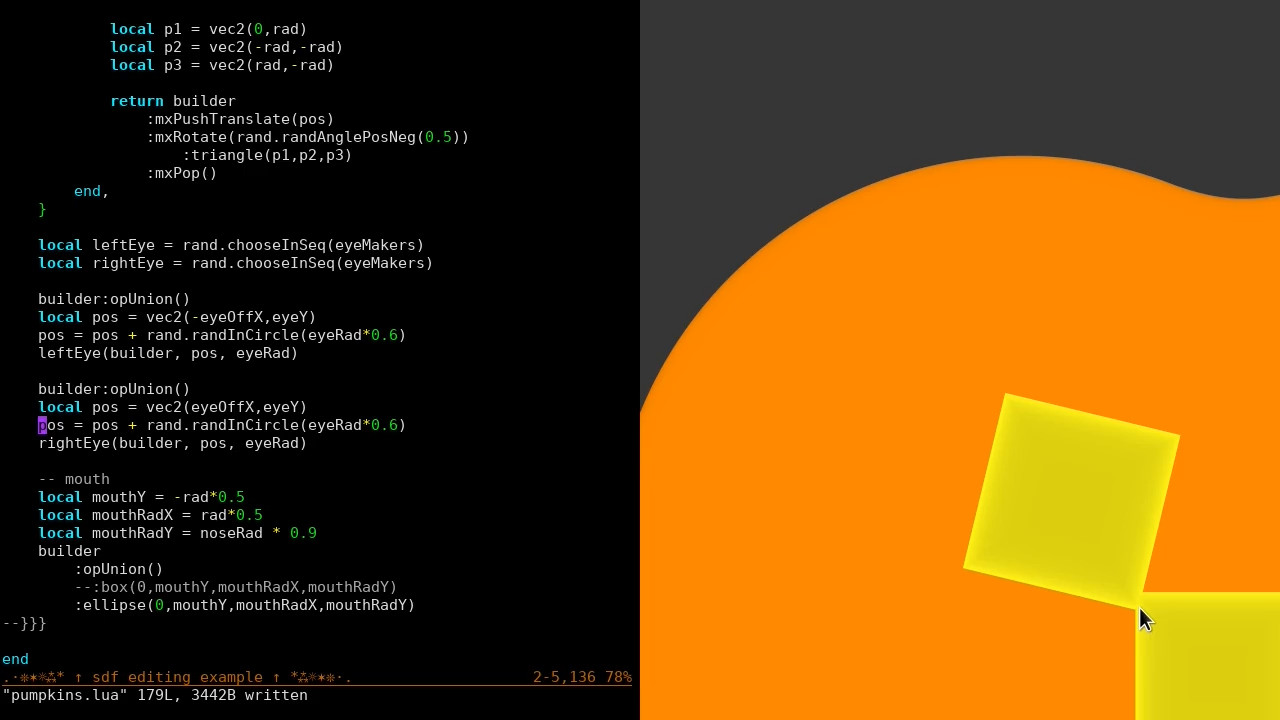
The randomization of eyes and nose positions can result in some collisions, where they "fuse" together. I make some modifications to radii and jitter amounts so this doesn't happen too much. I take advantage of the grid of faces to verify that things look good in general. This is a general problem with procgen games — you never know what all the permutations might look like. On one hand, this is good, since I can play my own game and be surprised by what I find sometimes. On the other hand, it means there might be buggy cases that you just don't happen to foresee or encounter during development.
For this demo, I just tweak some values to look good. But in the general case, it's a hard problem. To solve cases like the nose/eye overlap thoroughly would require a more rigorous approach with my code. This is another trade-off to consider when doing procgen work — how much effort to expend trying to ensure all cases will avoid problems vs. letting some non-ideal stuff happen in some (hopefully uncommon) cases.
Mouth
Next, we work on the mouth.
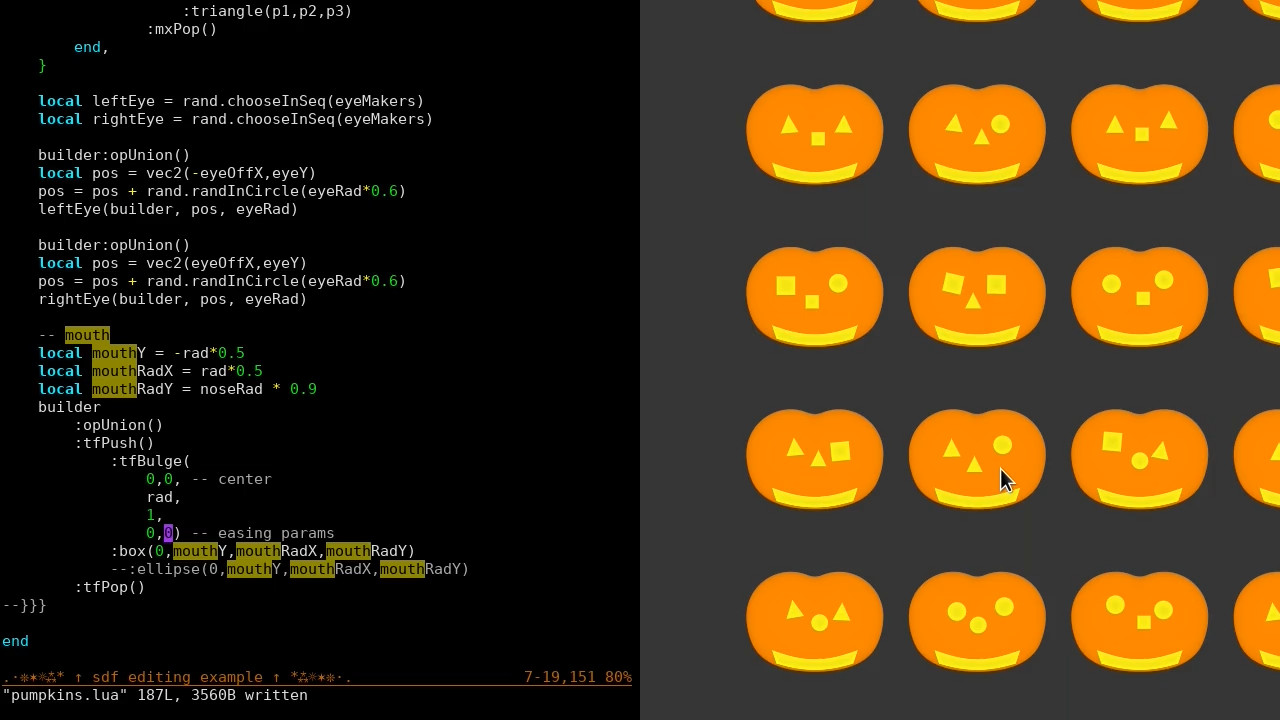
We add a "bulge" transform to make the mouth curve into a smile.
We only want it to affect the mouth, so we wrap it with :tfPush() and tfPop().
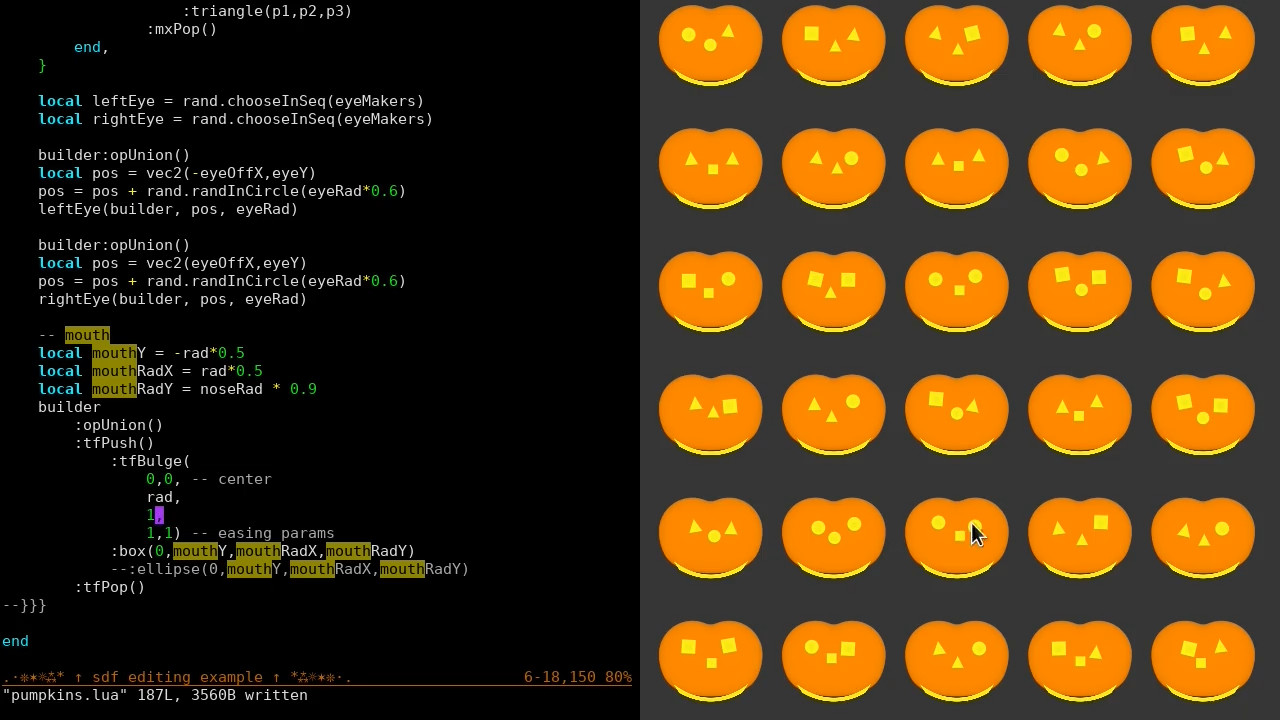
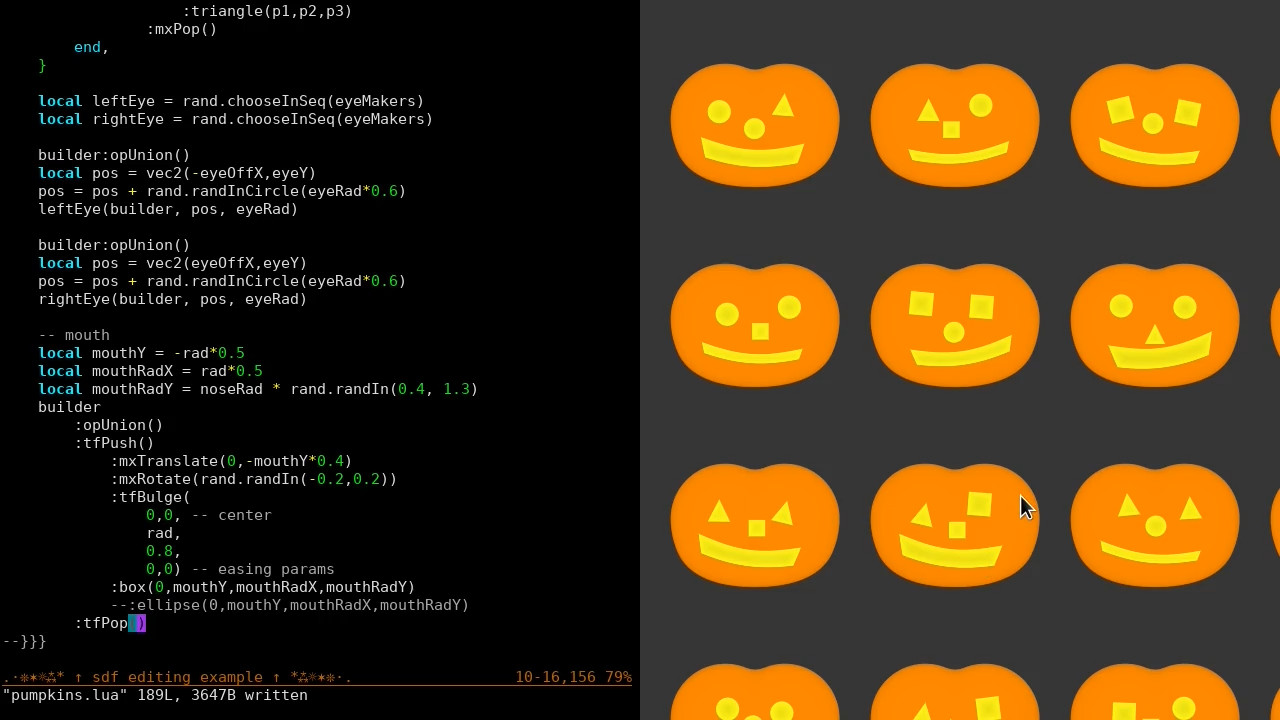
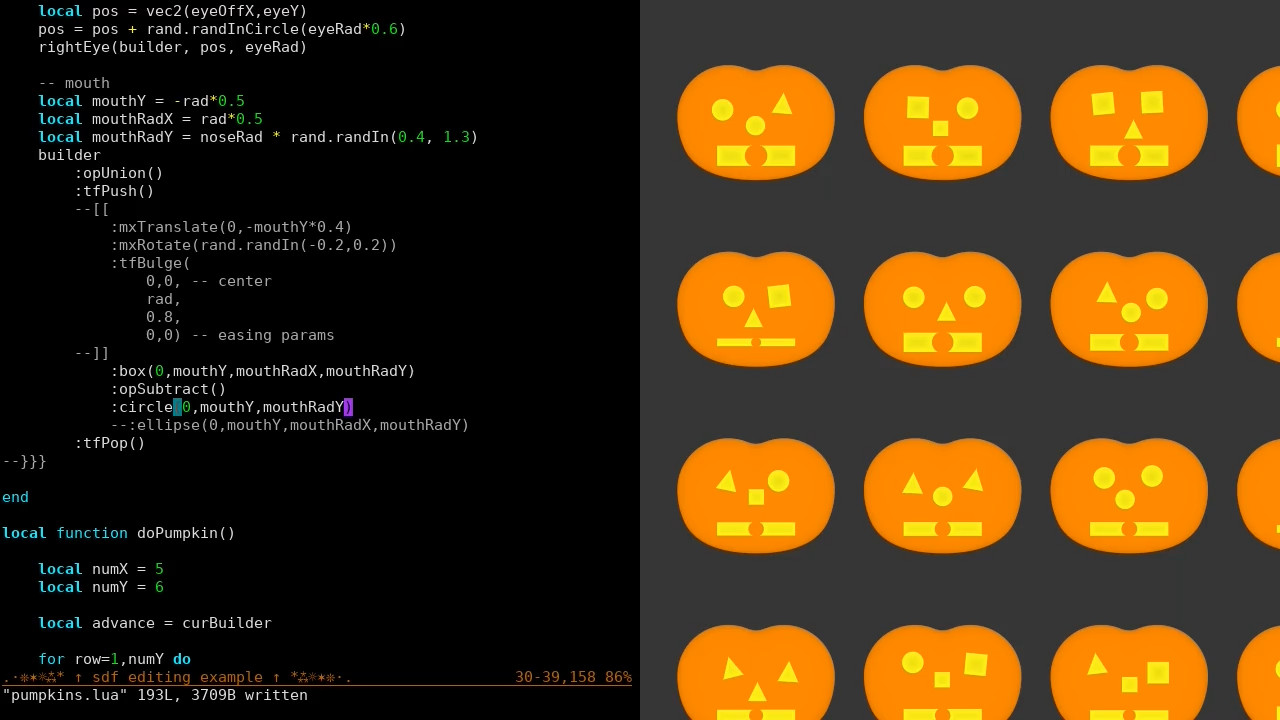
However, it's a bit harder to think about coordinates when space is warped like this. Since the transform is isolated, we can easily comment out that code temporarily, to give a square mouth. Now we can add teeth without being distracted by the smile-related transforms.
Teeth
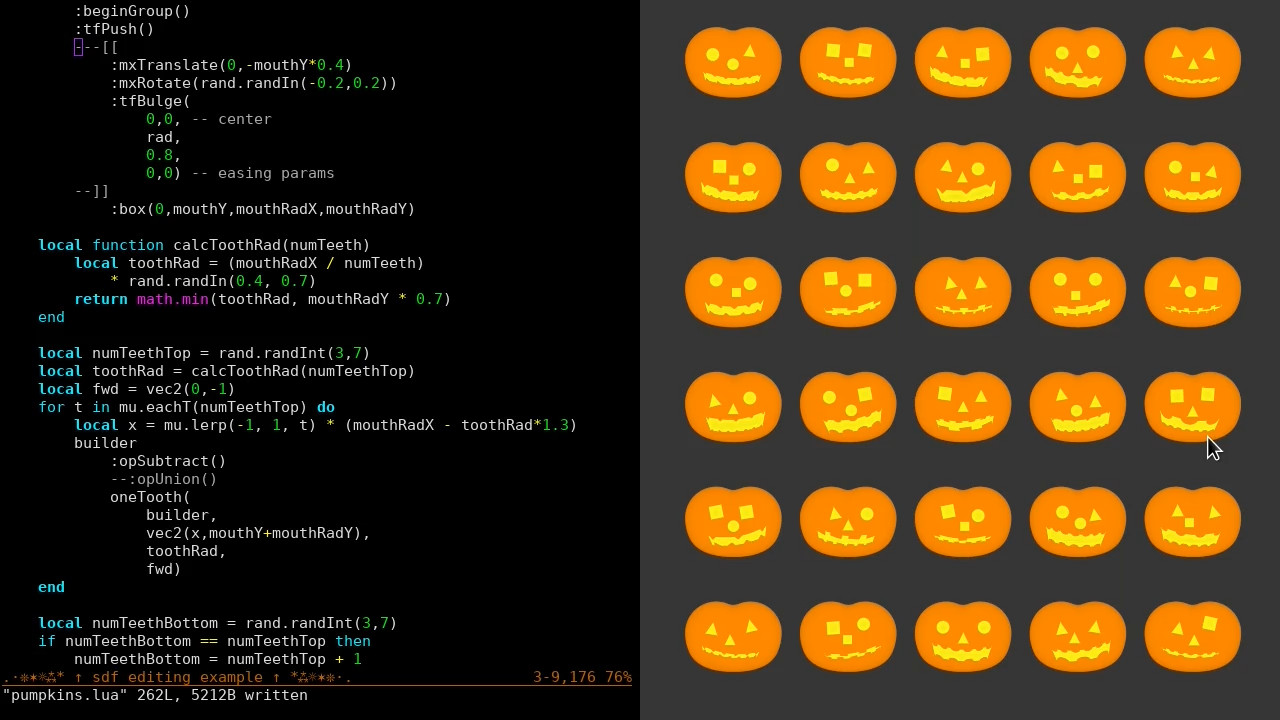
The teeth are shapes subtracted from the mouth. Again, we start with circles, making several in a row. We'll add more shapes soon.
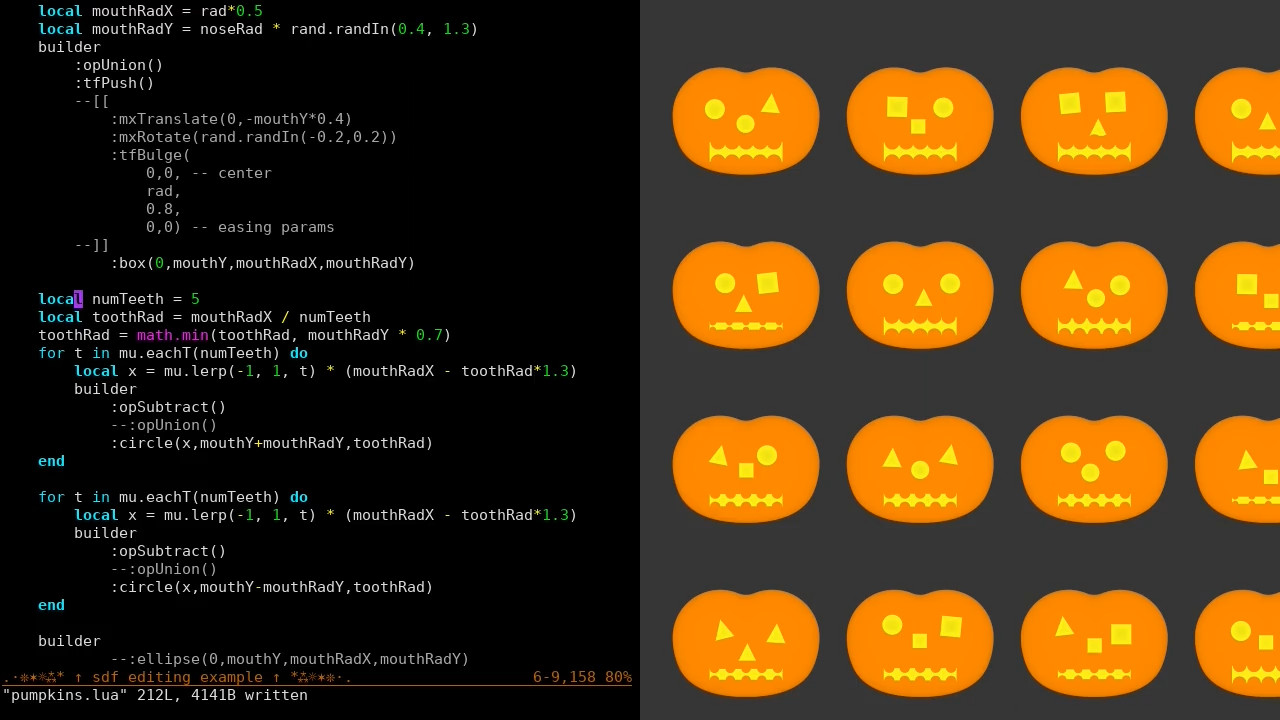
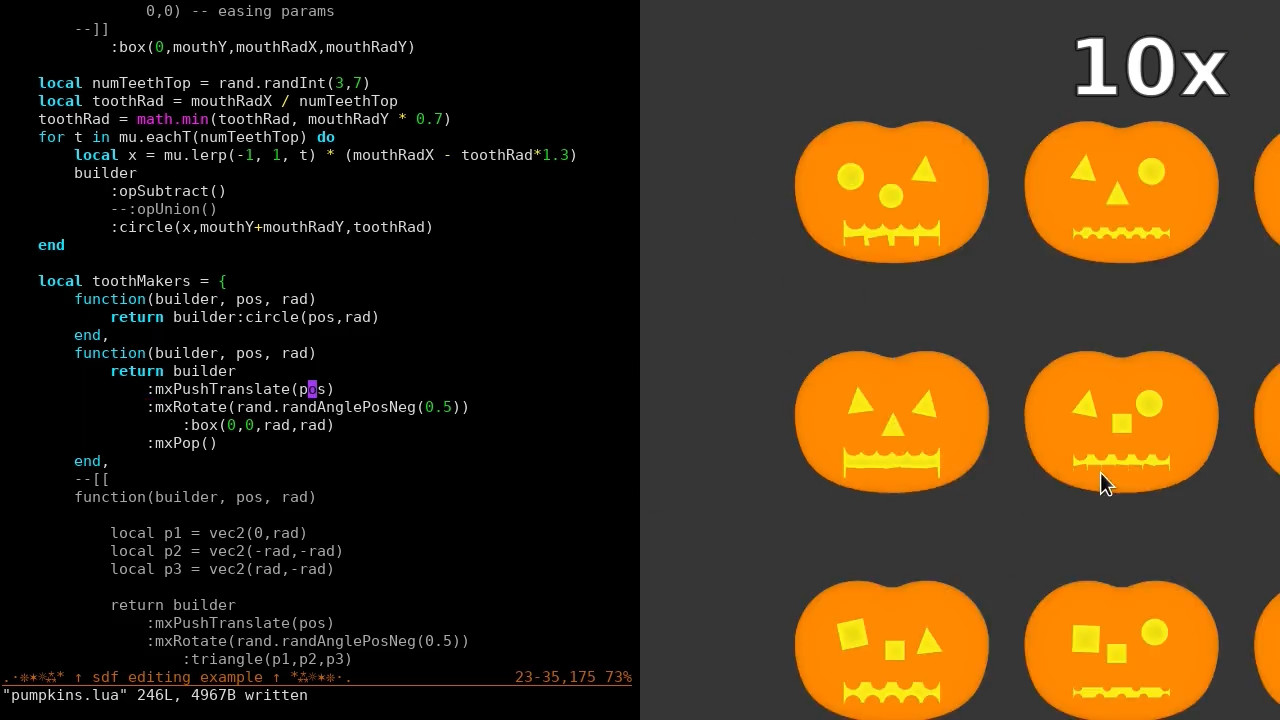
Now expand to other tooth shapes: again, we add support for triangles and squares, copying code from the eyes and nose.
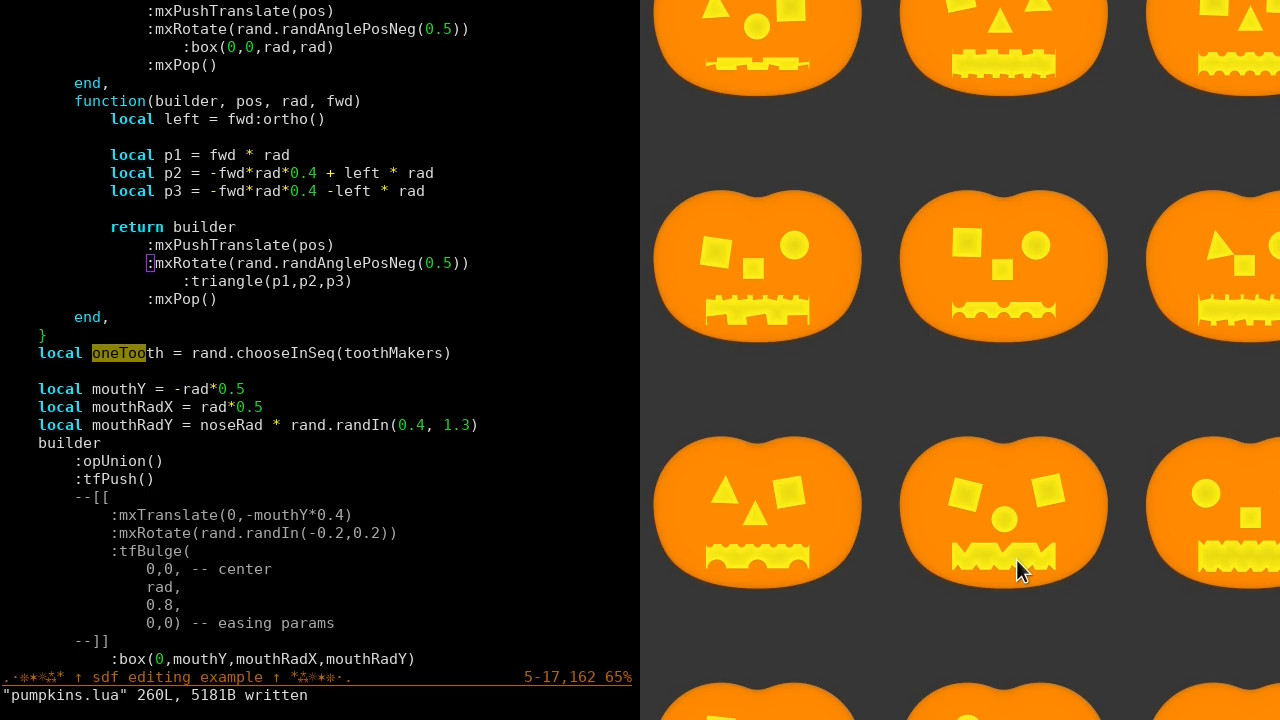
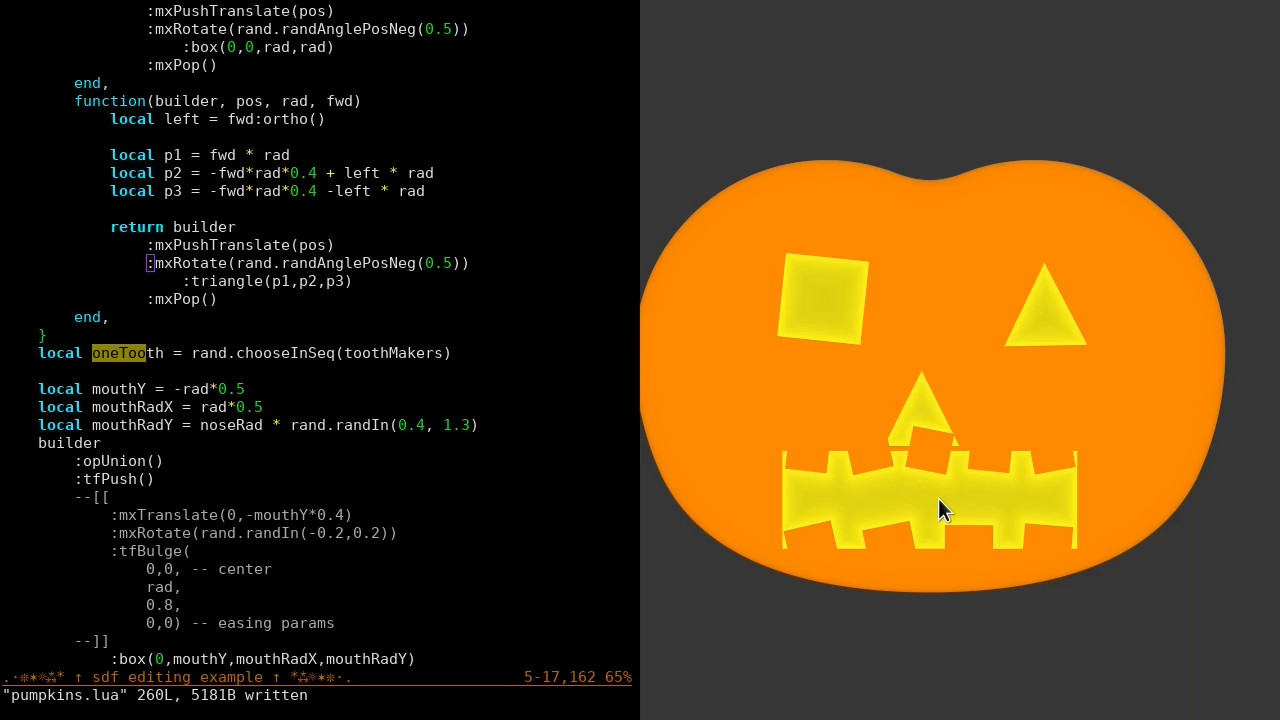
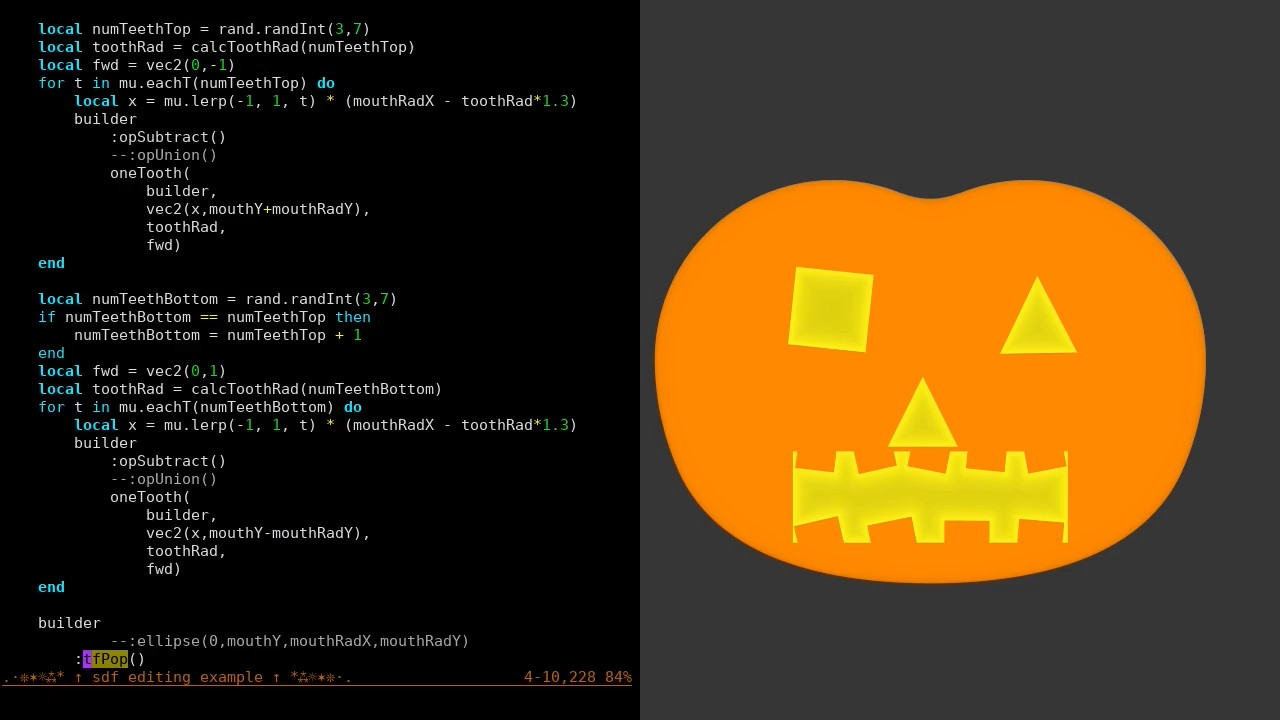
We can turn the smile back on easily, to check our work. Doing this, we notice that since the mouth transform uses random numbers, it perturbs what the face looks like. They are all based on a single random number generator, so generating some more numbers disturbs that sequence and will make all the subsequent parts (and faces) look completely different, potentially.
Stem
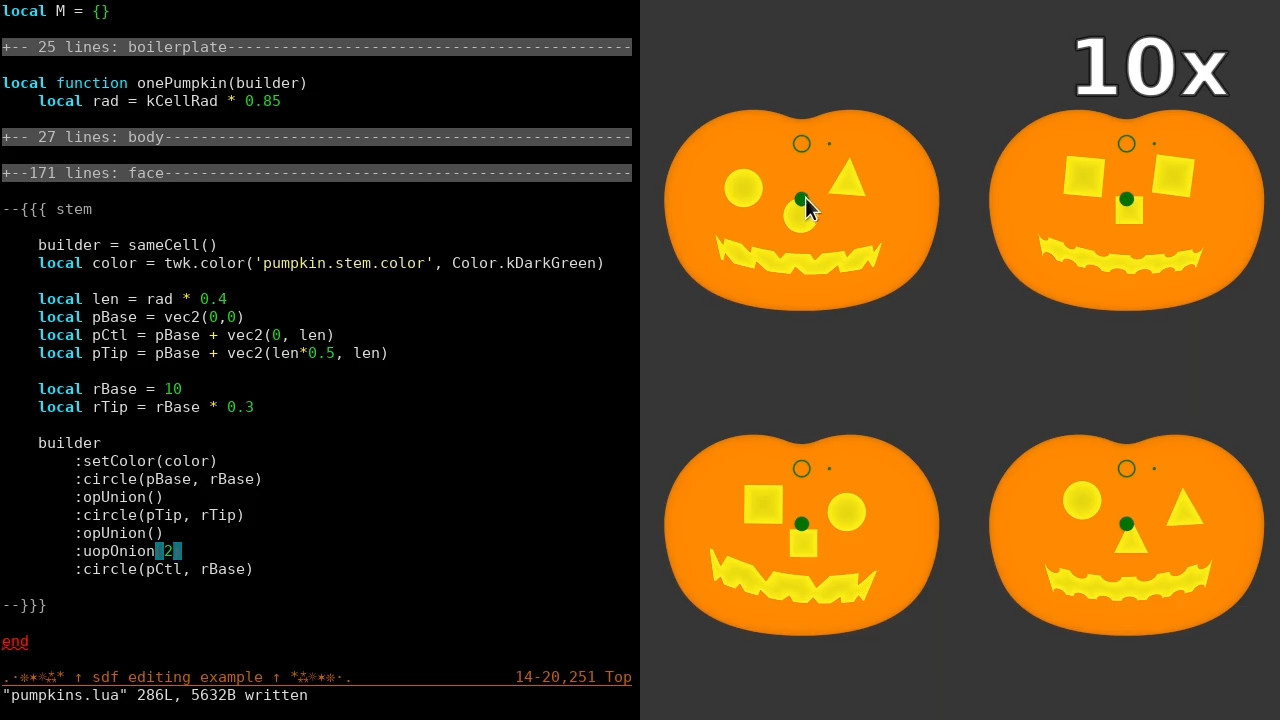
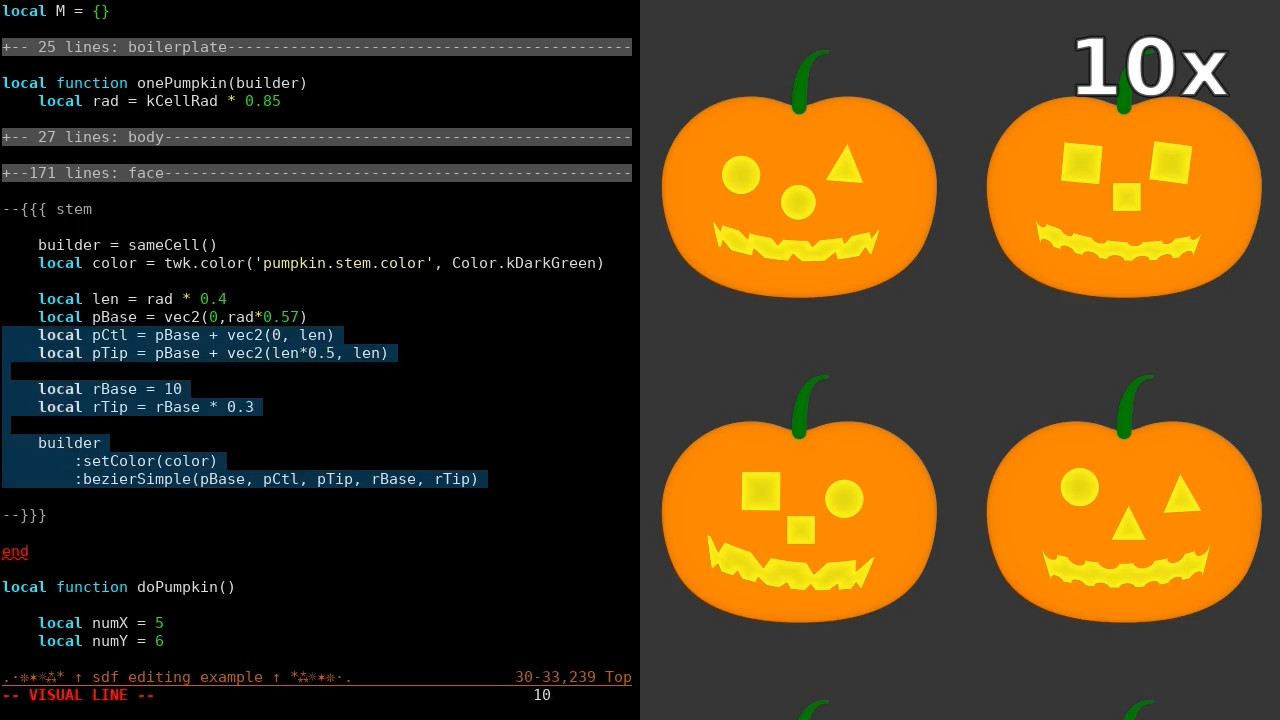
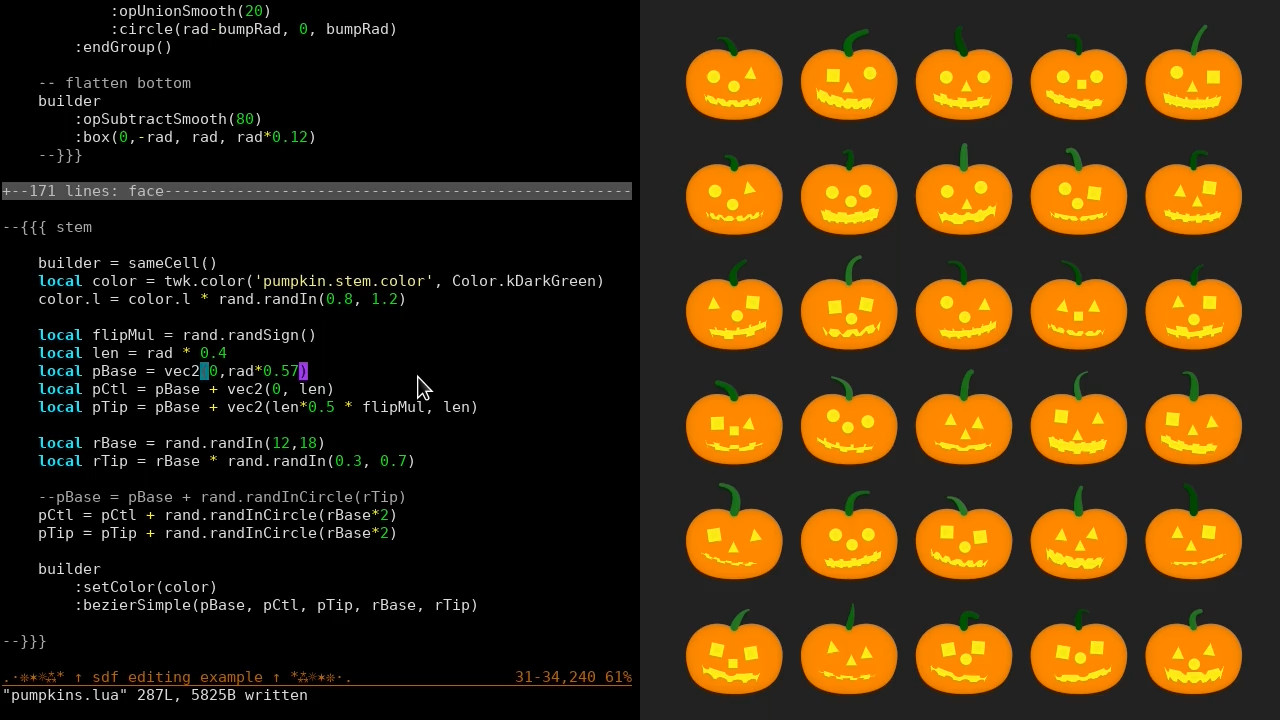
The final shape we add is a stem. For this, we use a (quadratic) Bézier curve. This is a slightly more "fancy" SDF shape, but not too bad. For our simple case, we just use 3 points — the base, the control point, and the tip
Colors
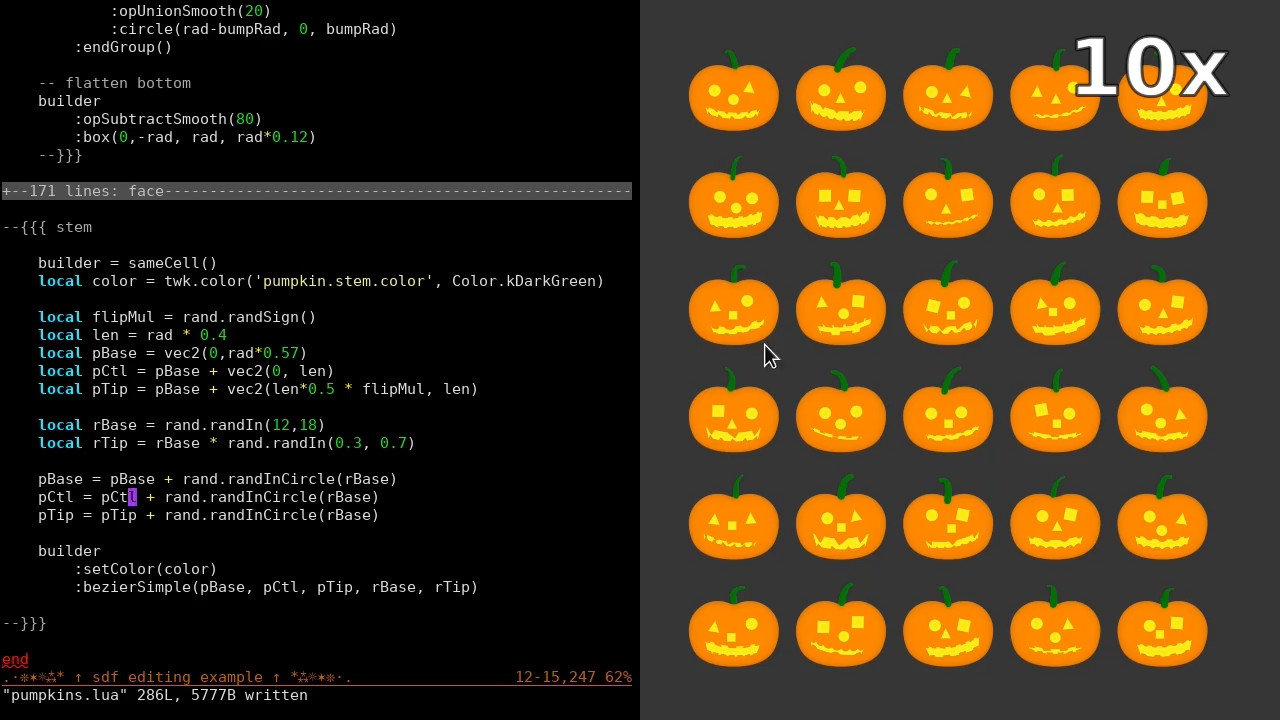
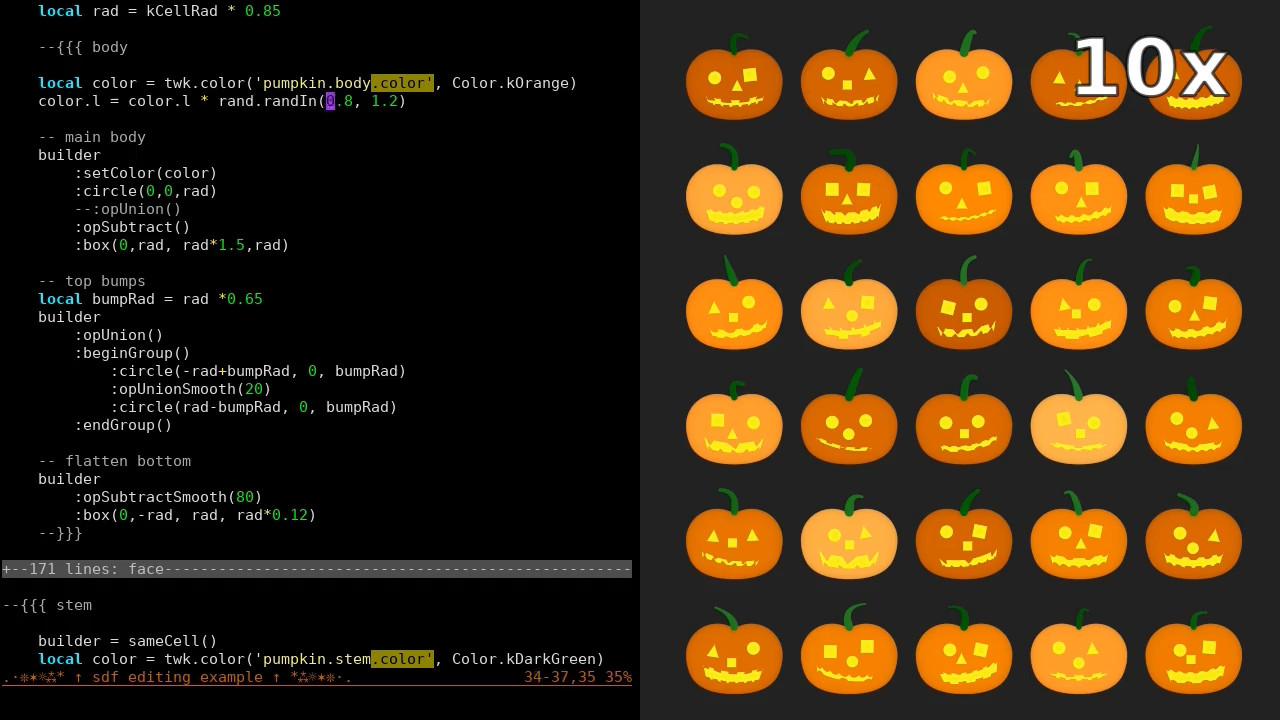
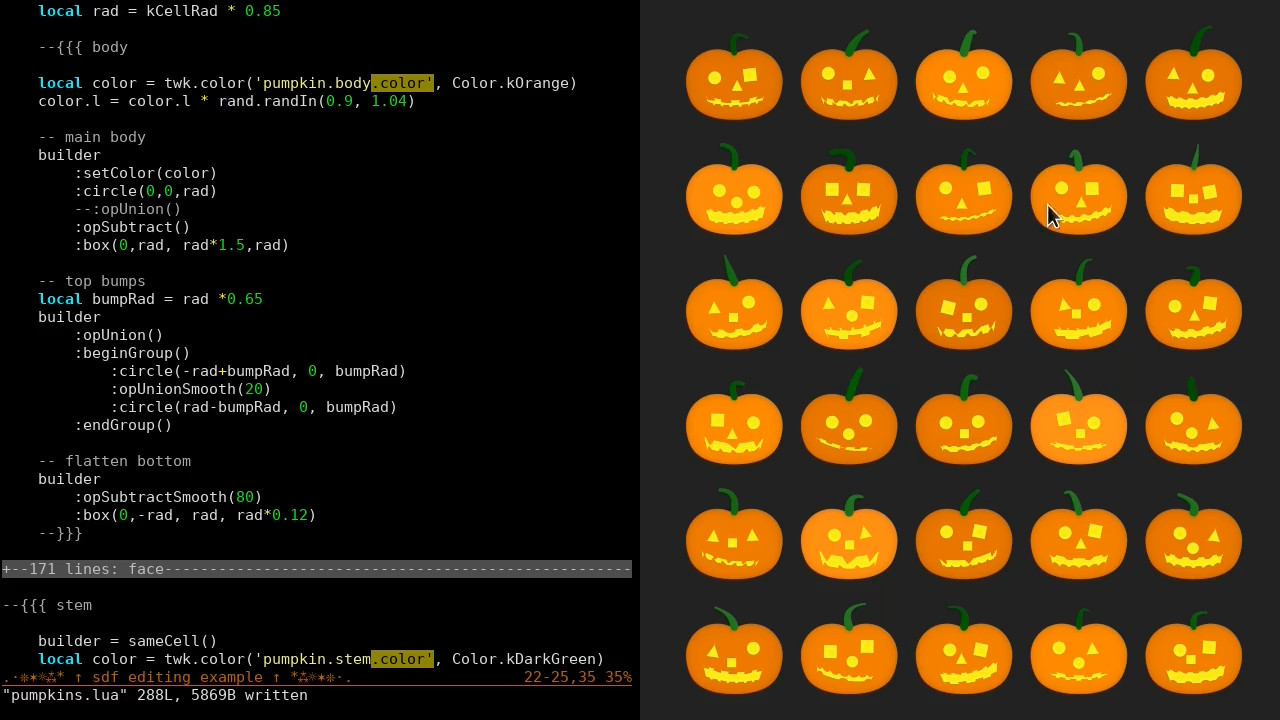
Lastly, we add some randomization to the colors — the stem, body, and face. The yellow face color seems to look bad sometimes with too much variation, so we keep it very minimal.
All Done!
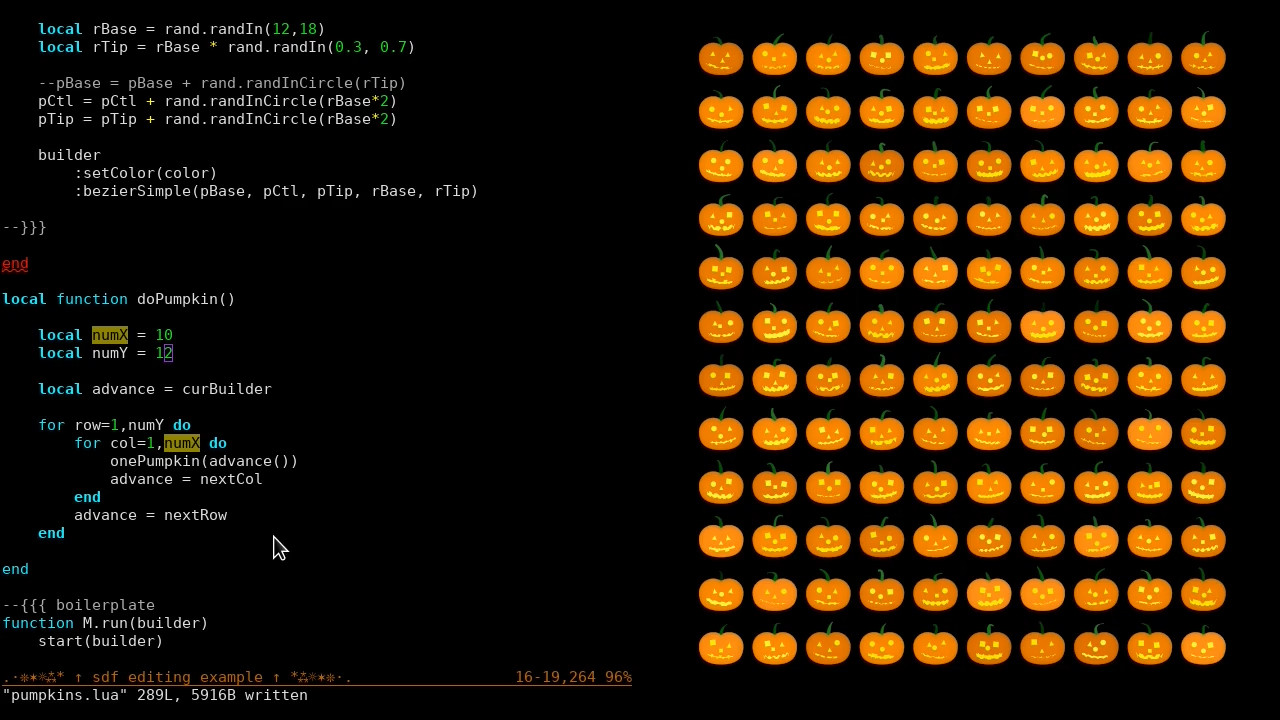
As we've demonstrated, with some fairly simple shapes, a few operations and transforms, and an interactive environment, we can pretty easily throw together some pretty compelling little objects. Randomization is easy to add and gives some nice variety to the results.
If you like these articles, feel free to sign up for the mailing list:
We also have some social media links, if you want to follow or contact us.

